FuJing Lighting - Pursue quality and cast high-quality goods.
Home / News / Solar street lamp installation manual and maintenance precautions
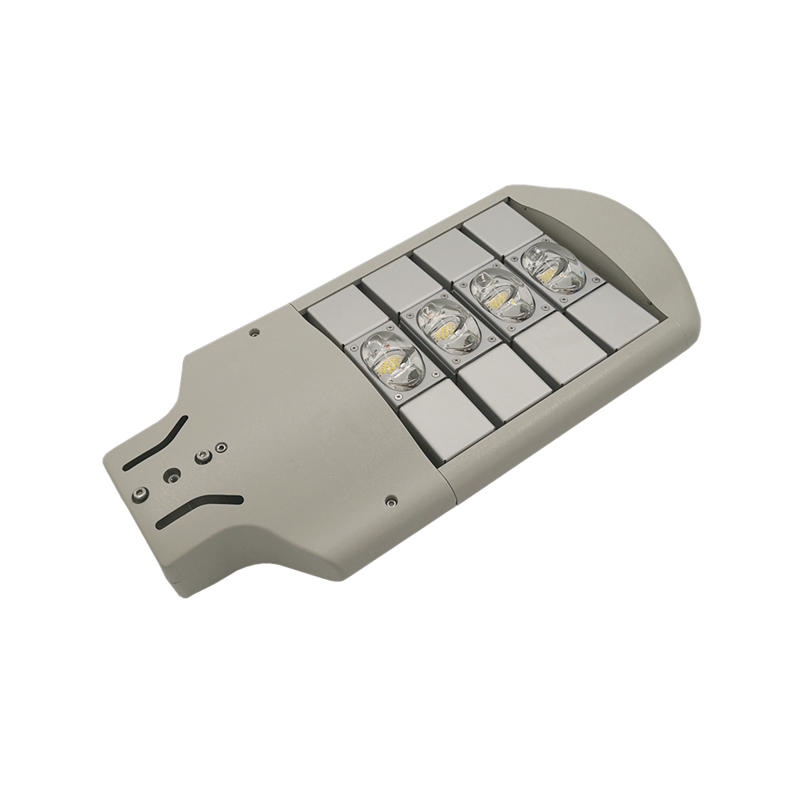
Solar street lamp installation manual and maintenance precautions
Update:2020-08-07
1. Site Selection 1. According to the position of road body and lamp light source, choose the direction of lamp light source to meet the maximum illumination area of road surface. 2. Solar street lights must be installed with sufficient light and no shading on the solar panel's face throughout the day. 3. Solar lamps should be kept away from heat sources as far as possible to prevent their service life from being affected. 4. Ambient temperature: -20 to 60 degrees Celsius.In a colder environment, the capacity of the accumulator should be increased appropriately. 5.There should be no direct light source above the solar panel.In order to avoid misidentification of the lamp control system and cause misoperation. 6. There must be no other facilities (such as cables, pipes, etc.) under the installation position of the solar street lamp.
2. Foundation 1. Installation of foundation embedded parts: 2. Excavation of foundation pits to survey geological conditions. If the soil is hard, a pit of about 1 cubic meter will be excavated at the location where the lamps are installed. If the soil is soft or has special requirements, the depth of excavation will be determined separately.After confirming the lamp pole position, confirm that the battery box is buried well, and the distance from the lamp pole is about 0.5 meters. 3. Foundation pouring puts the battery box template into the battery box pit, and the foundation pre-embedded parts are placed in the center of the foundation pouring pit. Then one end of the PVC pipe is placed in the interface of the battery box, and the other end is passed through the upper fixed plate of the base part in the foundation pouring pit.Finally, C20 concrete is poured densely.It is best to use the vibration pump when pouring to make the concrete more even and firm. 3. Installation 1. Installation of solar panels Note: The positive and negative poles of the battery plate should not be reversed 2. Installation of LED lamp head Note: The positive and negative poles of the lamp head should not be reversed Note: The screw must be tightened 3. Installation of accumulators 4. Connection of controller Connection sequence: light source->accumulator->battery plate Step 1: On the positive and negative pole controller of the light source, take care that the positive and negative poles are not reversed, and wrap them with water-resistant adhesive. Step 2: Connect the positive pole of the positive battery plate of the accumulator to the first red line of the controller and wrap it with water-resistant adhesive. Step 3: Connect the negative pole of the accumulator to the controller and wrap it with water-resistant adhesive.At this time, the idle light of the controller is on, wait about a minute, the discharge light is on, and the light source is on when the discharge light is on. Step 4: When the light source is lit, connect the negative poles of the battery plate and wrap them with water-resistant adhesive.Within five minutes, the light source will automatically go out and the controller will enter the charging state. 5. Connection of individual parts 6. Lifting Before lifting the A lamp pole, check that the fasteners in each part are firm, the lamp head is installed correctly, and the solar panel is facing (directly south) correctly. B Lock expansion screw of flange parts after hoisting installation.Open the controller door on the lamp pole and hang the controller on the inner arm of the lamp pole.
4. Notes 1. All components of the solar street lamp should not be scratched or knocked during installation 2. Do not overheat or leave batteries in wet places or exposed to solar light during transportation and installation. 3. Short circuit (positive and negative contacts) for each line connection 4. System connection sequence: Load - Battery - Battery Panel 5. System Disassembly Order: Battery Panel - Battery - Load 6. Solar panels must be properly oriented (due south) during installation 7. All screw terminals should be tightened without loosening and the connection should be reliable. Note that the polarity of the medium components, accumulators, controllers and controllers should not be reversed. 8.Be careful that the wires do not clip to the connection of the lamp pole when threading.Wire connections should be securely connected and wrapped with PVC tape. 9.It is strictly forbidden to smoke or ignite at the installation site, as a small amount of hydrogen is discharged from the storage battery when it is in use, and explosion may occur if open fire is seen. 10. Because each lighting system is a separate unit of work, it is normal to switch the lights on and off slightly differently. 11.Clean the dust on the battery assembly every six months, but do not rinse it from the bottom up with water. Installation and maintenance: Solar street lamp installation and maintenance must be carried out by qualified companies and technicians. Product parts: Do not use parts that are not recommended by the manufacturer, otherwise they may cause damage or danger to the system. Failure handling: (1) The light source does not turn on or there is not enough time to turn on the lamp * The solar street lamp has not been on for a few days, and the lamp does not turn on. A. Battery plates: Determine whether the solar street lamp is a 12V or 24V system. Use the universal meter battery panel open voltage (measured in the sun at noon) to see if the voltage is normal, the 12V system open voltage is around 20V, and the 24V system open voltage is around 40V. If there is no voltage on the battery panel, first determine if there is a problem with the wiring, if the wiring is loose, if the wiring is wrong;Then remove the diode at the junction box of the battery plate and measure the open-circuit voltage. Finally, there is no problem with the connection. After the diode is removed, there is still no voltage to replace the battery plate. B. Light source (pressure-reducing controller): Make sure that the light source is several series of parallel, three series of 12V system, six series of 24V system; connect the light source directly to the accumulator for a few seconds (under the normal voltage of the accumulator), determine if the light source is normal; the light source is not bright, check the connection of the light source is not problem: whether the line is loose, whether the positive and negative poles of the light source are in opposite direction;When the positive and negative poles of the light source are not connected in opposite direction and the line is not loose, the light source directly connected to the accumulator is not bright, so change the light source. C. Controller (good light source): During the day: first look at the status of the controller indicator, under normal conditions, the controller charging indicator is on, the controller is charging normally, the indicator charging lamp is always on and the discharging lamp flashes, and the batteries are running out of power to recharge. Remove the negative electrodes of the battery plate and wait for about 1 minute to see if the light source is on normally, the light source is not on, and the controller problem. Evening: the light source is not on, check the status of the controller indicator, the discharge light flashes, the battery is out of power.Remove the negative poles of the light source, charge during the day and do not discharge at night. When the sun is good, charge for about a week, and then connect the negative poles of the light source, the solar street lamp will work normally. D. Batteries: With the discharge voltage of the multimeter batteries, remove the negative electrodes of the batteries during the day. After 15-30 minutes of light source illumination, measure the voltage of the batteries. The voltage is within 12V (12V system), the voltage is within 24V (24V system), and the batteries are normal.When the negative poles of the battery panel are removed, the lamp will not light up after a few minutes, the accumulator is out of power, remove the negative poles of the light source, charge during the day and do not discharge at night, charge for about a week when the sun is good, and then connect the negative poles of the light source, the solar street lamp will work normally. Battery is out of power: 1. Batteries are under-voltage due to continuous rainy and rainy days exceeding the design days, and can recover automatically after a few days of sunlight exposure. 2. Battery undervoltage due to open or short circuit connection of the battery plate 3.Battery short-circuit causes or damages the light source When the solar panel is illuminated at an inappropriate time, there is something to block or impurities, remove the impurities on the panel, and ensure that the surface of the panel is clean.
Shanghai FuJing Lighting Technology Co., Ltd. which is engaged in the development of LED optical lighting products, production, sales and after-sales services is professional services company. The company gathered a group of experience professionals who had more than a decade in the LED lighting and electronic industries,and made a breakthrough in led lighting, lamps development and application.